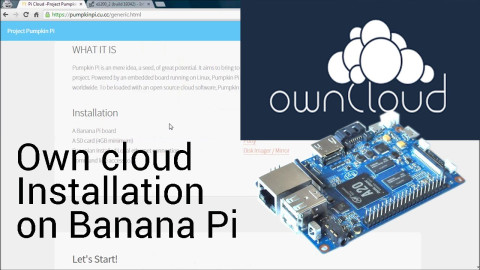
First Project arrived!
OwnCloud on Banana Pi Installation guide.visit pumpkin pi website to see instructions
Update: the pumpkin website is down and will not be fixed soon. Instead check out http://www.banana-pi.org and the forum on it. I will paste the pumpkin pi website below.
Let's Start!
Connecting to Banana Pi

Go to your router's config panel.
Open a browser and type in the IP adress of your router
usually it will be "192.168.1.1"
Find the IP address of Banana Pi


Open up Putty and type in the IP adress of Banana Pi
Login when prompted (default username "root"; default password "pi")
commands
enter below commands in order
cd (enter 'cd' when there is a number before 'root@bananapi'
apt-get update
apt-get upgrade
apt-get install php5
apt-get install apache2 mysql-server libapache2-mod-php5
apt-get install php5-gd php5-json php5-mysql php5-curl
apt-get install php5-intl php5-mcrypt php5-imagick
apt-get install sqlite
nano /etc/apache2/sites-enabled/000-default


change 'AllowOverride' under directory '/var/www/' to 'All'


change '/var/www/' under 'document root' to '/var/www/owncloud
press 'contorl'x' to exit ('y' and enter to save)
a2enmod rewrite
a2enmod headers
service apache2 restart
apt-get install php-pear php-apc
/etc/init.d/apache2 restart
groupadd www-data
cd
usermod -a -G www-data www-data
apt-get install bzip2
wget https://download.owncloud.org/community/owncloud-7.0.3.tar.bz2
bunzip2 owncloud-7.0.3.tar.bz2
tar xfv owncloud-7.0.3.tar
mv owncloud/ /var/www/
mkdir /media/owncloud
mkdir /media/owncloud/data
chown -R www-data:www-data /var/www
chown -R www-data:www-data /media/owncloud/data
/etc/init.d/apache2 restart
ownCloud


enter Banana Pi's IP in a browser


set up administrator account
change default directory to "/media/owncloud/data"You also have to option of configuring your data base
enter anything under 'username' and 'directory password' (don't forget it)
set 'data base' (the bottom two tabs) to 'localhost'
Click 'Finish Setup"
made with help from TechnikAmateur
Access through public IP
Port Forwarding

Let's go back to the router's config page by typing the ip into a browser. It usually looks like "192.168.1.1"
Go under NAT/QoS or Port Fowarding to find a panel like the one above.
Insert a new entry for your Banana Pi server and enter "banana pi ip" along with port "80"
you might want to set a static ip adress for Banana Pi.
All routers comes with different software, please embrace magical resources if you need help for your specific router


To access your Banana Pi server, you will need to find the public IP of your home
Do so simply by searching "ip locator"
Your public IP shloud look something like "68.44.248.xxx"
Now enter your public IP in a browser from another device(not the computer you set up the Banana Pi with) to be prompted "IP blocked"
Simply press the grey button in the middle of the screen to unblock the IP(you will be prompted to login as administrator)
NOTE: I cloud not get it working on windows, but it worked with Chrome on Android
Congratulations, now you can access your private cloud anywhere:)


