Web hosting on Banana Pi with Apache 2

Introduction

We all know what websites are, right? I hope so, because this is a website, in the form of a blog. Websites now are indispensable part of our lives! From your every day news website to a shopping website, it is awesome and it is convenient. So want to host your own website with your tiny server ready computer? 


What you'll need

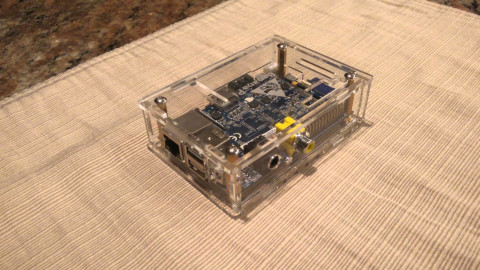
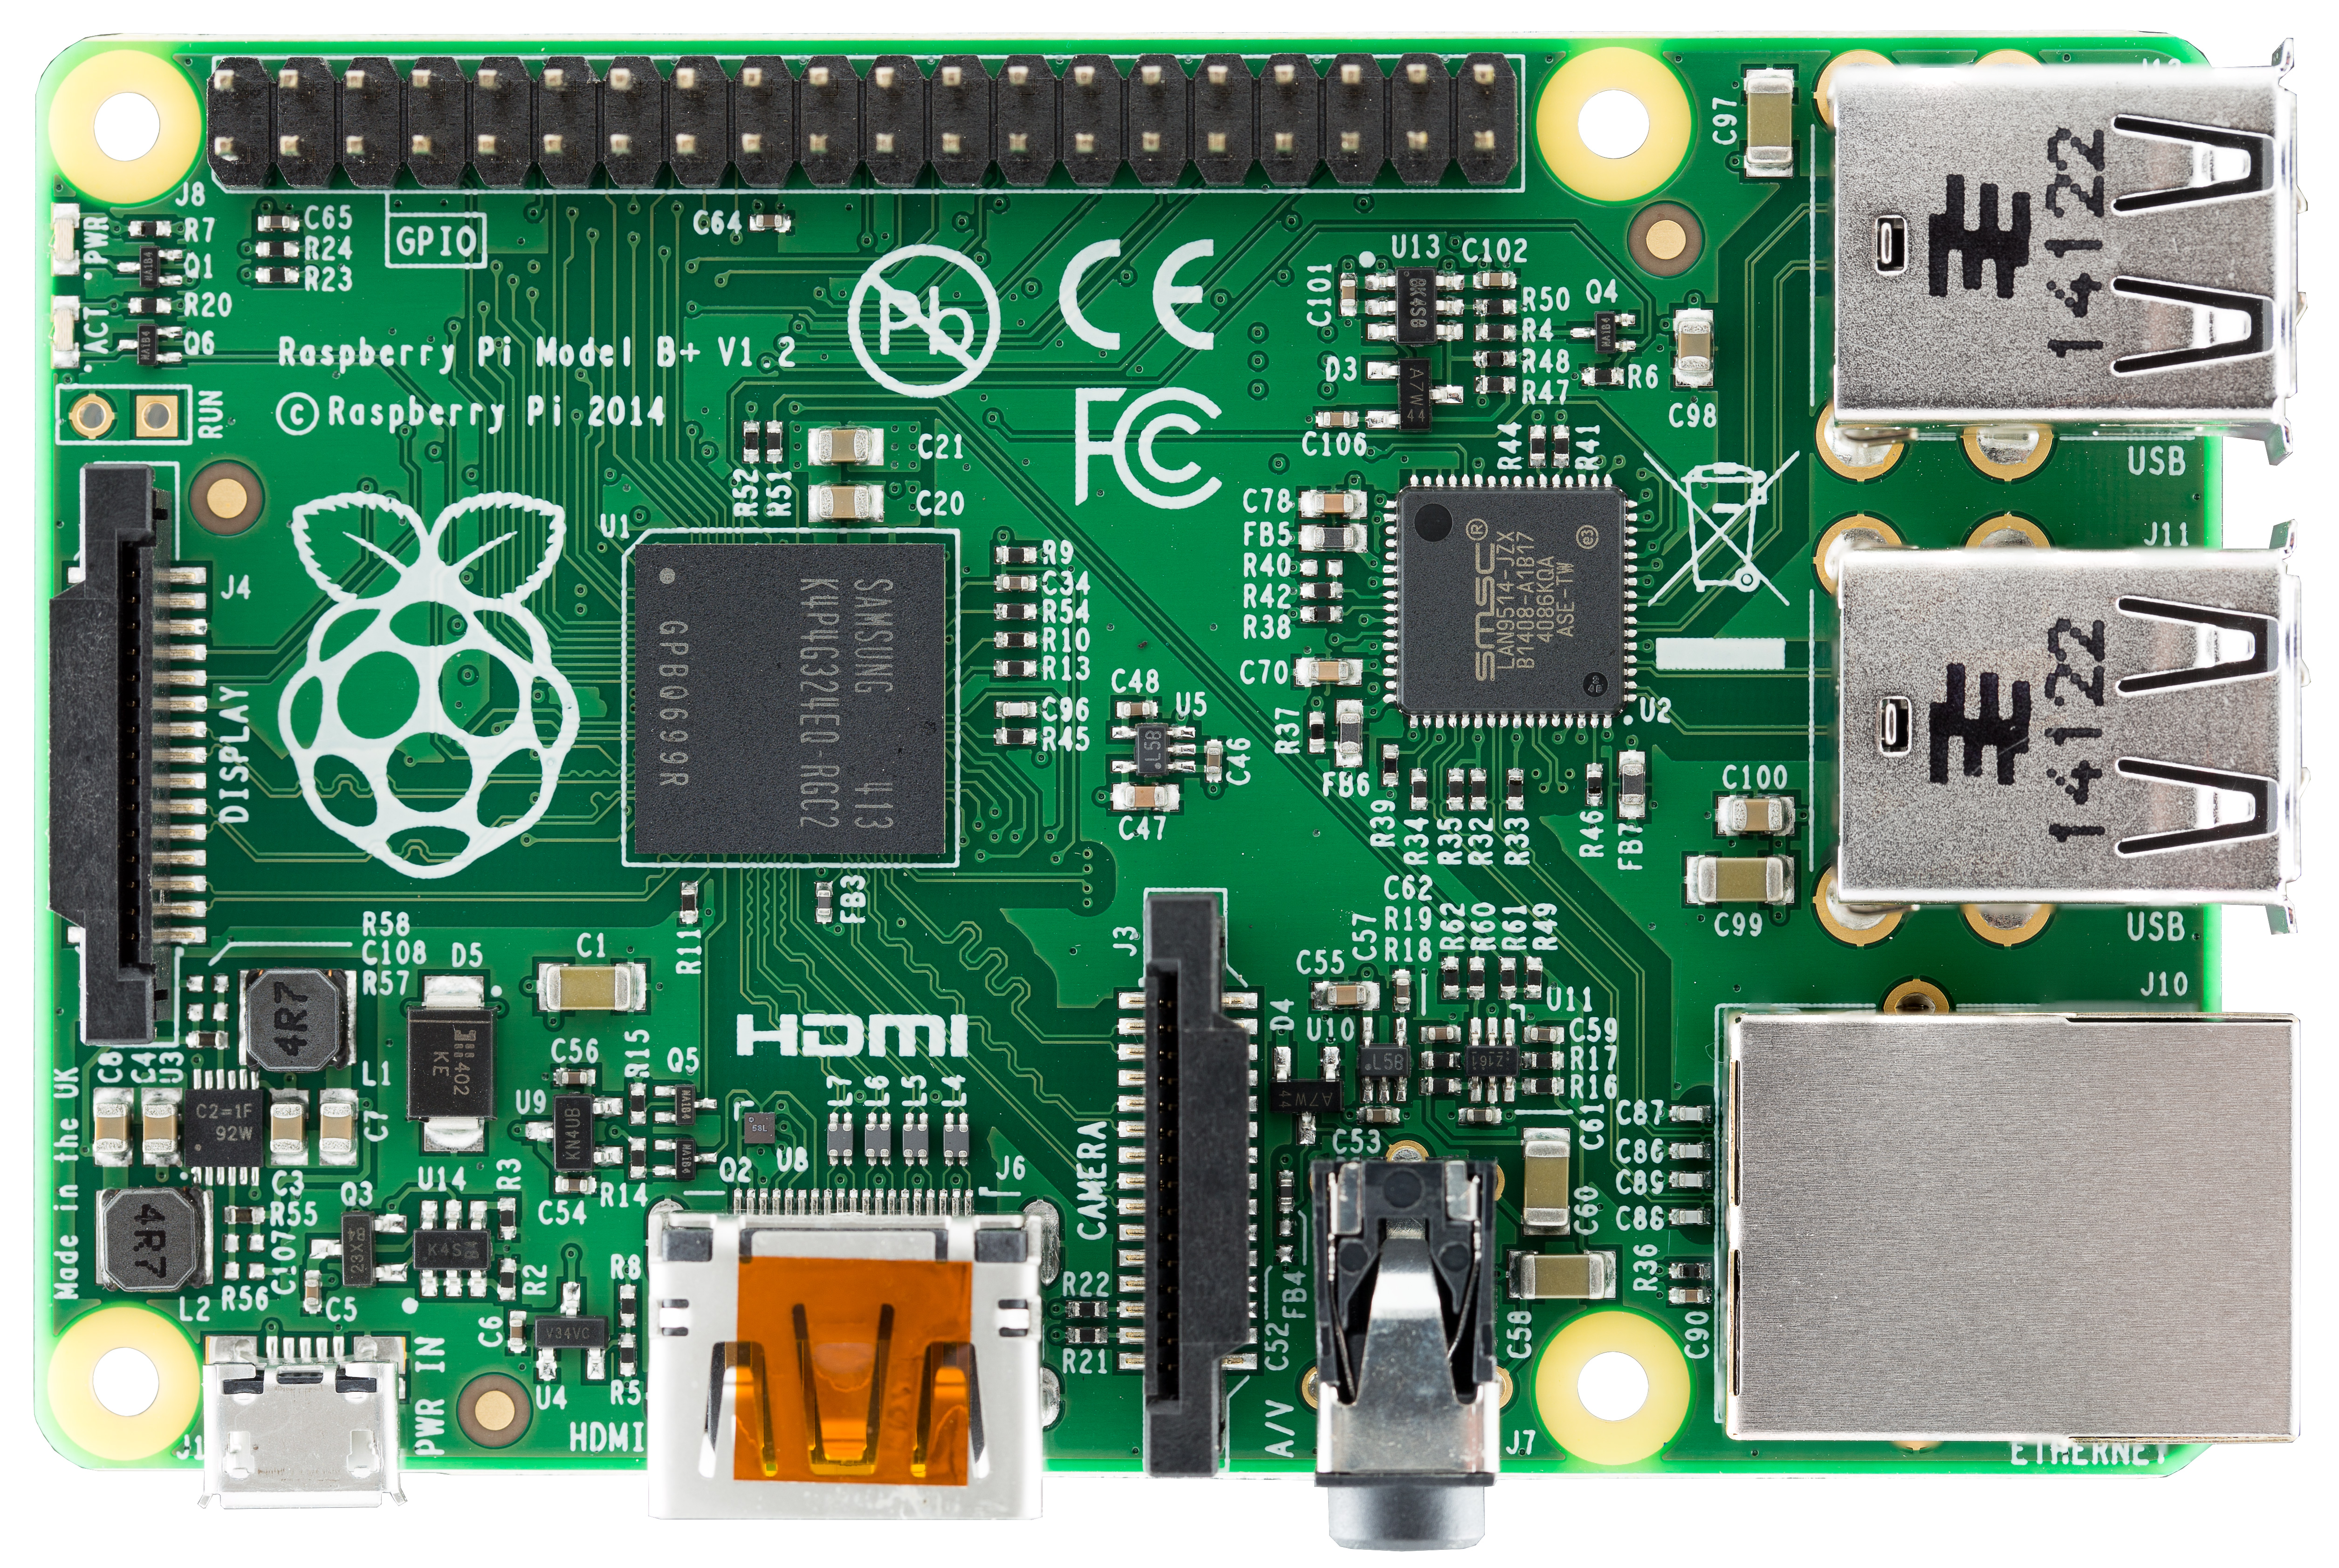
Banana Pi (other boards work too)
Power cable and Ethernet cable (internet)
SD card (Debian 7 in this case)
Computer, or command line access

Downloads


Getting started

Connect to your Banana Pi. See setup if you are confused already.

Now I think we might need to install a software?
You are right!


Apache and Nginx

Both Apache and Nginx are software that can host a website on Linux OS. They are both pretty good, but in this tutorial I will be using Apache2. Some people might argue that Nginx is faster, but I will do a Nginx guide soon and post benchmarks to see the truth. 

Installing


apt-get install apache2 -y
You should be somewhat familiar with 'apt-get', it downloads and installs a program.

 /etc/init.d/apache2 start
this line starts 'apache2' if it did not automatically start

Test website


Now if you type the IP of your Banana Pi, you will find a welcome page, it is a website!

Upload custom websites

Now if you want to change the website, you will have to have a website site ready to upload. The website should use html and not word press as we did not install it. You can use magically resources if you want to install other website management software. 


To upload the website, i recommend Filezilla, open it up and create a new SFTP connection 
leave ports blank
put IP of Banana Pi
Use normal authentication, input admin login (defaults are 'root' and 'pi')
Select SFTP 
Find your website and copy it under /var/www directory in your Banana Pi
/var/www/

you should replace the 'index.html' file already there.


If you go to '/var/www' in the command prompt, the files should match your website assets
cd
cd /var/www
change directory to /var/www
ls 
list files in the directory


Once the upload finishes, restart apache 2
cd
/etc/init.d/apache2 restart 
now you are ready to go!

Testing


Now if you go back to the IP adress, you will find your new website. It should load fast without a problem.


I did a few timeline tests and the results are decent, for your DIY web server. It can definitely handle low traffic websites, with up to a few thousands clicks a day. 

Public IP Port Forwarding

To access your website through the world wide web, we can easily set it up with a few basic steps
I will go through it briefly right now, if you need a more complete guide, simply comment and request:)
  1. register a domain at cu.cc or no-ip
  2. forward the domain to your public IP
  3. set up port forwarding on your router, forward port '80' to local IP of your banana pi

Thanks

for viewing, hoping you like it!
share this community and carry on the DIY spirit! See on G+


Dedicated Torrent Server for Mass Downloads -Banana Pi Torrent


Introduction

As technology advance, data are getting more detailed and larger in size. A few years ago a 10TB commercial hard drive was unheard of, but right now, you can get one for a few hundred dollars. In additions with SSDs, storage devices are getting lightning read and write speeds!

But there is still one problem, internet speed. With gigabit internet still in the process of coming to houses, downloading large files, like an OS, can take a long time. So you do want to keep your computer on the whole time? Well, welcome to instructions for a dedicated mass download server!

Disclaimer: This blog or any one relating to this blog is not responsible for what you chose to download. This guide is meant for educational purposes only. 

What's needed

  • Banana Pi M1 Single Board Computer (other might work too)
  • SD card with Debian installed (also known as Bananian)
  • Internet connection
  • Optional external storage (USB or sata HHD)
  •  A computer 

Connect and Install

I am tired of writing this, but connect to your Banana Pi through SSH or a keyboard to access the Debian command line. Check out other guides on this blog for detailed instructions on how to do it.

Installing Deluge
This guide will use Deluge, open source software for download management. 

First lets update our software and OS
apt-get update
apt-get upgrade


Installing deluged
apt-get install deluged
Treaties of two options

You have two options right now, to access you server remotely, you can use a web console or a desktop client. Differences are? Well, they are basically the same, but desktop client can be easier to manage while the web console can be easy to use and set up; or get both:)


Installing web client required software
apt-get install python-mako


Installing Deluge web client
apt-get install deluge-web
optional deluge console
apt-get install deluge-console
note: deluge-web starts deluge web client but once you end the command, the web console will be closed, but deluge will still download, to access web console again simply start deluge-web.

Deluge and Storage Configuration

Start the web console
deluge-web


Type the IP address of your Banana Pi followed by port 8112 (the default port)
It should look like below numbers with actual numbers substituted for '*'
192.168.0.***:8112
Log in with default password
deluge 

Add a new connection with Host as Banana Pi IP adress and port as 8112 as shown above.

Go under 'preferences' and you can change download location, proxy setting any more.


Mount external drives in Bananian 

To store downloads in an external location, USB or HDD, just plug it to a port and mount it.


To list storage devices
fdisk -l
Find the one with sda header (it should be in the second paragraph)
In this case, my USB is detected as
Disk /dev/sda: 16.0GB, 16008609792 bytes 

Create a directory for mounting
mkdir /media/usb
Mount the USB drive (files can be written and accessed once the USB is mounted, it gives the device a location in the directory)
mount -t auto /dev/sda1 /media/usb
note the space between sda1 and /media

note: my USB is formatted in FAT32, if you have a NTFS HDD, you will need to install a software with below command.
apt-get install ntfs-3g


With our drive mounted, lets go back to Deluge preferences
under storage>downloads, change download location to your new mounted drive
/media/usb 

Testing 

Now that deluge is installed, how does it fair in real world testing?
To download a file, simply download the torrent file and add it through the web-console. 

Below pictures show detailed steps


Starting the Download
The torrent download should start immediately after looking for seeds and peers.

note: that the speed of the download might not be ideal, but this is a dedicated server and you will be greeted with the file tomorrow when you wake up!


Finishing the download
Start up the web console again
deluge-web
and connect to it through IP address in a browser, and tadaaa!
The file is downloaded!


To double check, I explorered the files in Debian command line and there it is the file on my flash drive!


Concluding

So, hopefully you found this guide helpful! I tried to screen shot as much as possible.
If you are confused on something, check out other starter guides here to see if it helps you.

You can also ask me a question through a comment!

thanks


Remote Connection to Banana Pi JuiceSSH on Android

SSH

A remote connection to a Banana Pi can be a lifesaver, especially when you are working on a project that involves a lot of scripting and typing it verbatim on another keyboard is tedious. With a SSH client, you can copy and paste commands easily into Banana Pi command prompt!

For Desktops, we have Putty, it works well.
But what if you want to check on your pi in your bedroom, or while you are taking time in the washroom. SSH for android got you covered!


JuiceSSH

JuiceSSH is a great mobile app for android that can connect to terminals net work connection, and the best part? It is free with material design!


Connecting

To connect simply set up a new connection with the IP of your Banana Pi. set user name as root. Then connect and enter the password. That simple. 


JuiceSSH Performance Plugin

For monitoring the performance, RAM, CPU usage of your Banana Pi through a simple interface.

Why its note worthy

What can go wrong with a free material design app? It does what it needs and comes handy at times.

Seafile Net Work Attached Storage Installation (Seafile NAS)

Introduction

Hello!
Welcome to this tutorial on installing Seafile on Banana Pi!
Seafile is a really great software that combines security and usability into a versatile package. In this tutorial, we will be installing Seafile server on Banana Pi for a syncing net work attached storage.

What do I need?

  1. A Banana Pi (preferably running on Debian)
    1. SD card
    2. USB power adapter
    3. Ethernet Connection to local network
  2. A computer (or a monitor, keyboard)
  3. Putty
  4. Seafile Server (ARM)
  5. A brain (sorry, you need a brain for this)

Installation

Again, with every Banana Pi installation, a remote accessing software is recommended. I would recommend using Putty.

And log in as root when prompted

Sweet Commands

Once in the command line, get ready to copy and paste!
First, we need to install python and other awesome stuff needed with the Seafile server program
apt-get -y install python2.7 python-dev python-setuptools python-simplejson python-imaging sqlite3 sqlite
 Create a new user (seafile installs in '/' or root directory, so to keep it clean, create a new user)
adduser seafile --disabled-password
(I disabled password for ease of access)

Enter command line as user (seafile in this case)
su - seafile
when in doubt, 'cd'
cd
Downloading installation package
wget https://bitbucket.org/haiwen/seafile/downloads/seafile-server_3.1.7_pi.tar.gz
(you can change the link to any version of  Seafile. NOTE: it has to be in .tar.gz format)

Extracting
tar xvzf seafile-server_3.1.7_pi.tar.gz
Get in Seafile directory
cd seafile-server-3.1.7
Run set up
./setup-seafile.sh

Follow seafile set up instructions

Set any server name
Enter the IP you used to connect to Banana Pi through SSH
leave blank for port, and directory


Confirm  setup 


Now setup Seahub by pressing enter
Leave blank for directory and ports

Running Seafile

cd seafile-server-3.1.7
Seafile directory
./seafile.sh start
Starting Seafile services
./seahub.sh start 8000
Starting Seahub (web interface) on port 8000 (use an open port)

You will be prompted to enter email and password for admin accounts (do so please)

Web Interface

Now that your server is up and running, check out the web interface!
Open a browser and type
192.168.*.***:8000
 Fill in *.*** with the IP of your Banana Pi (you used this to connect to it with Putty)
follow the IP with the port you launched Seahub with

Log in with the Admin account you created


Enjoy Seafile!

Further Notes

Check out Seafile website for Sync client and mobile apps!

For accessing world wide, you will need to set up port forwarding on your router and change the IP of the server

I will post a guide for that in the near future stay tuned and subscribe if you like the guide!


-Project Banana Pi


special credit to Technikamateur

Banana Pi Start Guide, Now What?

So a Banana Pi arrived, now what?

First, congratulations on your new computer. Before we dive deep into Linux command lines, let me introduce you the basics and the installation of Banana Pi.

Things You Need

  1. Banana Pi, of course
  2. and SD card (4GB minimun)
  3. USB power adapter and cord
  4. Ethernet cable
  5. A computer (or monitor with keyboard)

Aims

  1. Install Banaian on Banana Pi
  2. Remotely connect to Banana Pi command line

Links

Boot SD

  1. Insert SD card into a computer
  2. Download a .img burner (here)
  3. Download a .img file that you will install
    1. Download Page
    2. Bananian image
  4. Format the SD card to FAT32
    1. If you have a Linux partition, use MiniTool to delete it and format the SD card.
  5. Open up disk imager and write image to your SD card
    1. In my case, the drive letter for my SD is 'G'
    2. Select the right img
  6. Wait for Disk Imager to finish 

Connect


  1. Insert the newly written SD card into the SD card slot
  2. Plug in a micro USB power cable
  3. Connect the Ethernet Cable
    1. If you want to boot to a monitor instead, you can follow the same instruction below
    2. Connect to your HDMI display and a keyboard
    3. If you are running a different img then connecting to a display is fail proof
  4. In a browser open up your browser's settings page
    1. usually it is '192.168.0.1'
  5. Find the IP address of Banana Pi
    1. For me, my Banana Pi's local IP is '192.168.15.112'
  6. Connect with Putty

    1. enter the Banana Pi's IP (see above)
    2. NOTE:Sometimes it does not always work, try rebooting your Pi and wait a minute before you connect again
    3. In case you are wondering, use SSH and port 22
  7. Connected!
  8. Time to Explorer

    Now you are connected to your Pi, it is time to start your next project!
    Maybe you will build your personal cloud server
    Explorer with other operating systems by writing it to your SD with Disk Imager


    More Projects Coming ! Email subscribe to get special Banana Pi deals!

Banana Pi Single Board Computer vs Raspberry Pi Comparison

Introduction

Banana Pi M1 and Raspberry Pi B+ are affordable single board computers that can be hacked into endless fun projects! They are both very portable and low profile, they are mini Linux computers!

Banana Pi


Raspberry Pi B+

Hardware

Banana Pi

  • Dual core A20 CPU 1GHz
  • Mali 400MP2 GPU
  • 1 GB DDR3 RAM
  • 10/100/1000 Ethernet
  • 2 USB 2.0
  • HDMI
  • SATA 2.0

Raspberry Pi

  • Broadcom SoC 700MHz
  • VideoCore IV GPU
  • 512 MB RAM
  • 10/100 Ethernet
  • 2 USB 2.0
  • HDMI
From hardware perspective, Banana Pi is the clear winner featuring twice the RAM, a dual-core CPU at a higher clock rate. BUT Banana Pi completely destroys Raspberry Pi with its Gigabit Ethernet connection and SATA port. With better connectivity, Banana Pi offers much better performance and has the oomhp to power many tasking projects.

Software

It is a common misunderstanding that Raspberry Pi has better software than Banana Pi and it is NOT the case in terms of software. Raspberry Pi is more renowned, supported by projects, but they both are compatible with similar operating systems including
  • ArchLinux
  • Kali Linux
  • Raspbian
  • OpenELEC/XMBC 
  • OpenWRT
  • Open Media Vault
  • Scratch
  • and more
Though many operating systems are support, both Pis are limited in processing power, especially graphics processing power. Running command line systems are mediocre, but when I ran Lubuntu on 1080p, the lag was noticeable.


Benchmark

I did some light browser JavaScript benchmarks on Banana Pi and my HP Laptop. Below are my results.
 NOTE: that Sunspider is not the best benchmark in the world and definitely unreliable, but I used it because it is quick and easy to run. 
  • Banana Pi
    • A20 SoC dual core 1GHz
    • 2259.4
  • HP g6
    • Phenom(tm) II P650 dual core 2.6GHz
    • 837
As you can see, there is significant performance difference between a $400 laptop and a $50 single board computer. Honestly, A20 SoC performs surprisingly well, it can effeminately handle your demands.
I did not do detailed benchmark on both devices, but please check here for benchmarks from another blog.


Price

Banana Pi definitely out performs Raspberry Pi, but I am sure Raspberry Pi is more popular among DIYers. They are both two really great projects to consider and trust me, they are fun!
 Raspberry Pi B+ is available for $35
 Banana Pi is available for $45

Warp Up

If you are looking for fun projects to do on your weekend, don't hesitate and pick up your next projects online!