I know some of you would rather be hot, but lets face the fact, hotness breaks stuff, degrades the SoC, and lowers overall performance and stability. If you are running your Banana Pi 24/7/365 with some decent task load, then you should considering DIYing yourself a cooler.
This Things is a Click Away
I know heat sink are selling for a cheap price on the internet. But I didn't really feel like I will be needing it, so I just made this cooling system for fun from my DIY laptop cooler two years ago.
Steps - Easy
Just tape your fan to the back of a Banana Pi case. The acrylic case has air vents, but the plastic one does not, so just take the case off when it comes to that.
Connect the two wires to 12V electricity. Just wire batteries in a series if you just want to see it for fun. Otherwise, solder it onto a 4 pin connector and connect computer power supply to it.
This shows you the temperature sensor on the Banana Pi, M1 at least. It is not the actual SoC temperature, but it is a somewhat less reliable way to see how cool your Banana Pi is. We are trying to cool everything, not just the SoC in this case.
Ubuntu as we all know it is a very popular Linux distro that is full of features. Mate on the other hand is a graphic user interface that unlike the default Ubuntu gnome, does not have a task bar. You can easily install new themes to further customize your user experience.
On the dual-core 1GHz BPI-M1, Ubuntu plays the role of a feature full operating system that can run with minimal specifications. The M1 cannot dream of matching 2015 ultra books or desktops, but if you don't mind waiting a few seconds for everything to load, it can pass as a PC.
File Explorer
You will have no problem navigating through this basic file explorer.
Firefox Browser
The default browser that is bundled with Ubuntu. You can also install Chromium if you like.
Video Playback
VLC player. Plays 640p videos smoothly.
Benchmark
SunSpider JavaScript
Banana Pi BPI-M1 - 2152.7
Raspberry Pi2 - 4438.6
A10 6800K 4.1GHz - 303.2
Lower is better.
Hardinfo
Banana Pi BPI-M1
Raspberry Pi 2
Raspberry Pi
Intel(R) Core i5-2500k
Celeron(R) 1.50GHz
CPU Blowfish
63.66
61.76
100.83
2.53
26.19
CPU Cryptohas
15.47
8.79
639.99
CPU Fibonacci
17.11
16.14
26.48
1.49
8.14
CPU N-Queens
51.42
86.26
4.12
FPU FFT
79.87
150.97
0.84
FPU Raytracing
72.3
74.69
133.85
3.34
40.88
(Raspberry Pi results from http://www.linuxlinks.com/)
Command line games look even older than retro 8-bit games that you think are really old. Command line games runs in a command line and the graphics are made of text input characters that can be typed. So why these type of games? Well, they are interesting and some games might actually be fun.
Tip, Nethack may seem a bit over whelming at first because you have no idea what the graphics mean so check out their website to get acquainted with controls.
We all know sometimes it is more fun to play Minecraft with friends and other people on a server instead of playing alone. That is exactly the reason why so many public Minecraft servers are set up; but have you ever wanted to make your own server? The BPI Banana Pi boards is the perfect low cost solution to hosting a dedicated private Minecraft server. The dual-core processor and 1GB of RAM can probably handle moderate Minecrafting.
Installing Spigot Server
credit: as you can see in the video I did not come up with these on my on, rather I read Spigot's website and Google to optimize a set of commands for your banana pi.
My hardware: BPI M1 Dual-core A20 running on Bananian with 8GB SD
The process took 2 hours for me on the M1, I know its a long time, but you can just leave you Banana Pi on and do other things.(For example: looking at my other blog posts:)
It will prepare the spawn area which will also take a really long time.
Testing
Now you can connect to the server through the IP specified IP in the server properties file. For your friends to connect, you have to forward the minecraft port 25565 to the Banana Pi in your router settings.
ASCII art is a graphic design technique that uses computers for presentation and consists of pictures pieced together from the 95 printable characters. We will be installing an animated ASCII Art screen saver for the banana pi terminal.
Why am I writing a guide a this? Well it looks awesome and it is cool!
ASCIIQuarium
An animated program that displays ascii art as a linux screen saver for the terminal. The credit for this interesting ASCIIQuarium goes to mewbies.
Installation
A Banana Pi running and Bananian (Debian) and a access to the terminal
Banana Pi R1 is a single-board computer that features WiFi capabilities as you probably know. It can run on several OSes and today we will explorer the feature packed OpenWrt image optimized for Banana Pi R1.
Video Overview
Installation
Download img here https://drive.google.com/file/d/0B4PAo2nW2KfnSGUzR0RYWVNiZTg/view
Open Win32DiskImager and write the img file to a micro SD card.
Insert it into Banana Pi R1 and connect power.
Connect PC to a port on the Banana Pi
Go to 192.168.1.1 and login with "root", "admin"
WiFi Testing
Gigabit LAN
94.32 Mbps (down)
12.14 Mbps (up)
WiFi Default Configuration
1.98 Mbps (down)
3.61 Mbps (up)
The WiFi is not as reliable as the Android OS for Banana Pi R1, but the Gigabit LAN speeds are really good.
Basic Router Features
The OpenWrt image gives you a user interface on the web to edit advanced router features. You can set up firewalls, QoS, switches, and WiFi.
Additional Features
By default, the image also comes with really helpful features such as Shadowsox, OpenVPN, Redsocks 2, Privoxy, UPNP, and Aria 2.
Proxy web proxy/Proxy: http proxy
Redsocks2: Automates proxy connection when web contents are blocked.
Shadowsocks: Socks5 proxy software, used to bypass firewalls.
UPNP: So that the gateway or router NAT module to do automatic port mapping, BitComet listening port mapping from a gateway or router to the computer network to accelerate BT download speed
Transmission: BT、PT download client
Aria2 settings: Multi-threaded download software with web management console, you can add from the web interface, administrative tasks directly
Helping Notes
The thing is that the web interface on 192.168.1.1 is quiet mediocre. Do not expect this to be the best thing in the world because configuring each and everyone of them to work is a pain. Mostly because you have to use the vi linux text editor instead of nano. Please check out how to use vi.
Banana Pi M1 is the handy dandy development board that can handle anything from Apache server to OwnCloud. The Banana Pi R1 is a routerfied version of the M1 with the same SoC, Allwinner A20, but now with 5 Gigabit ports, and wireless support. This router offer good performance and most importantly can run on a variety of operating system including Android, OpenWrt, Raspbian, Fedora...
Unboxing
The inner container of Banana Pi R1 is quiet nice, it looks decent and is easy to open, but the outer container is wrapped with tape, so get you scissors ready for some though times:p
Specifications
A20 dual core 1GHz processor
1 GB RAM
4 Gigabit LAN, 1 Gigabit WAN
1 USB 2.0
2 micro USB (Plug power cable to the one on the side!)
SATA for 2.5 inch drives
Micro SD (For operating system)
Wireless a/b/g/n dual band with antenna connectors
Quick Start
Download Banana Pi R1 image (Android if this is your first time), and Phoenix Card writer (for android img) here.
Extract the zip package.
Format a micro SD card (8 GB minimum) FAT 32.
Run PhoenixCard.exe from the Phoenix folder
Select the drive letter corresponding to the micro SD card.
Select the Android image downloaded from the package or from bananapi.com
Select boot and press Burn
Connect power adapter to the micro USB that is on the outer side (at least 1.35 Amps, I tried with 800 mAh and the system crashed all the time)
Connect Ethernet cable to the single port apart form the four port cluster.
Connect HDMI display (optional).
Connect to the network and go to "10.0.0.1" to access the OpenWrt router interface. (password: root)
Wireless Test
I ran some wireless tests with antennas salvaged from an older router. Antennas are a must have and they boost the wireless range dramatically. If you do not have antennas, go buy some because it is not going to work if you are more than 5 feet away. I only did 2.4 GHz benchmark because I cannot get the 5 GHz signal to broadcast on the R1.
BPI R1 with antennas (android default settings)
1 feet away
32.14 Mbps download
11.57 Mbps upload
1 wall away
10.96 Mbps download
11.57 Mbps upload
20 feet 2 walls away
3.48 Mbps download
11.08 Mbps upload
TP Link TL-WR 841N (DD-Wrt defaults)
1 feet away
47.64 Mbps download
11.62 Mbps upload
1 wall away
44.09 Mbps download
11.22 Mbps upload
20 feet 2 walls away
23.57 Mbps
9.15 Mbps
Conclusion
The Banana Pi R1 is definitely a fun project with decent performance for real applications as well. Though it can not compete with the legendary $20 TP Link router in performance in 2.4GHz, the R1 has more processing power than even $200 routers. The R1 is ideal for a NAS as it has a SATA port for a 2.5 inch hard drive and it is also good for a VPN server or a TOR router.
This is the R1 overview and I will post more R1 projects in the coming weeks! Most M1 projects will also be compatible with the R1 if it runs on Raspbian or similar Linux OS.
A music server capable of playing music on local storage, Spotify, Google Play, Sound Cloud, and more. It can be accessed through a web interface. So basically, it plays music and store music, but now with your Banana Pi. Visit Mopidy page to learn more. If you want to do more hacking, check the official Mopidy support page.
Installation
The following installation will be done with Putty, if you need help connecting to your Pi command lines with a PC look at this blog article or the beginning guide.
First we need to install Python for Mopidy server to run
Check if you already installed Python, Mopidy needs version 2.7.x
python --version
Then install some more Python packages (on Debian)
I know today is not April Fools yet, but I am posting this for tomorrow!
Internet if of course another good place to show April fools enthusiasm!
If you haven't noticed the flappy bird flash game on top, then you should take a look, and let's also take a look at other fools around the web.
<update: the game was removed 2/4/15 after April fools.>
Banana Pi has several product lines and two companies making a wide selection of opensource single board computer boards for DIY computer projects. This guide aims to clear up what every product does and what they are good for.
Banana Pi M1 Classic
The classic Banana Pi with modest powers and amazingly great connectivity. Whats amazing connectivity? SATA port and Gigabit Ethernet! This little computer offers many great things in its little profile and it is perfect for server application and medium uses. When it comes to graphics and sheer computing power, this board can not be compared with full blown 64bit processors, but it is great for a VPS or a NAS.
CPU: Allwinner A20 SoC
RAM: 1GB
Main Ports: 2 USB2.0, 1 GbE, 1 HDMI, 1 SATA
Banana Pi M1+
As the name suggests, this is an upgraded version of Banana Pi M1 now with embedded WiFi n chip. The good thing about this is that it keeps the awesome connectivity and now it ads wifi and 40pin GPIO for different projects involving gadgets and other boards. The M1+ also allows you to make it a powerful mini router.
CPU: Allwinner A20 SoC
RAM: 1GB
Main Ports: 2 USB2.0, 1 GbE, 1 HDMI, 1 SATA
On board WiFi n
Banana Pi R1 Router
This is basically a mix between a computer and a router. It has wireless n capabilities and two slots for external high gain antennas. It also features 4 Gigabit LAN ports with 1 Gigabit WAN port. The best part is the SATA port again, you can attach a laptop hard drive and make a personal files sharing hub. Personally I think this router is a brilliant idea in that it is basically a power house open source router. For starters, it is way more powerful than a router in processing powers and RAM allowing it to do some heavy encryption tasks. This can make the perfect TOR router for example.
CPU: Allwinner A20 SoC
RAM: 1GB
Main Ports: USB2.0, 5 GbE, 1 HDMI, 1 SATA
On board WiFi n with antenna
Banana Pi M2 Quad core
Going off on a different tangent, instead of connectivity, this boards focuses on computing power. The M2 is powered by A31S quad-core SoC at 1 GHz backed by 1 GB of RAM. The specifications makes it a perfect android computer as the M1 is not powerful enough to run graphics intense operating systems. The M2 will definitely do a better job providing drivers are all properly configured. This board is more for mini computing options as it does not have SATA ports. I would get this to bring a TV or a monitor to live, or to host a web server, but for general projects, the M1 is a better choice. (This also has WiFi)
CPU: Allwinner A31s SoC quad-core
RAM: 1GB
Main Ports: 4 USB2.0, 1 GbE, 1 HDMI,
On board WiFi n with antenna
Banana Pi D1 Camera
This a a 720p camera module for Banana Pi and it can also record to SD card or stream through internet connection. Can be cool for a project involving home security or video capturing.
Video Resolution: 720p
Banana Pi G1 Smart Home
The opensource take on home automation. This smart hub is compatible with WiFi, Bluetooth, and Zigbee to offer integration across many smart home appliances so you can control it with across multiple devices with a mobile app. This board is yet to be released and personally I want to know what it can offer.
TI MCU for WiFi, Bluetooth, and Zigbee
Banana Pro
Though Banana Pi came before Banana Pro, this board is just like Banana Pi M1+. It has basic components of Banana Pi including A20 SoC, 1 GB RAM, but this one comes with embedded WiFi.
CPU: Allwinner A20 SoC
RAM: 1GB
Main Ports: 2 USB2.0, 1 GbE, 1 HDMI, 1 SATA
On board WiFi n
Banana Pie
Banana pie is not a computer, but it is still delicious! Yum!
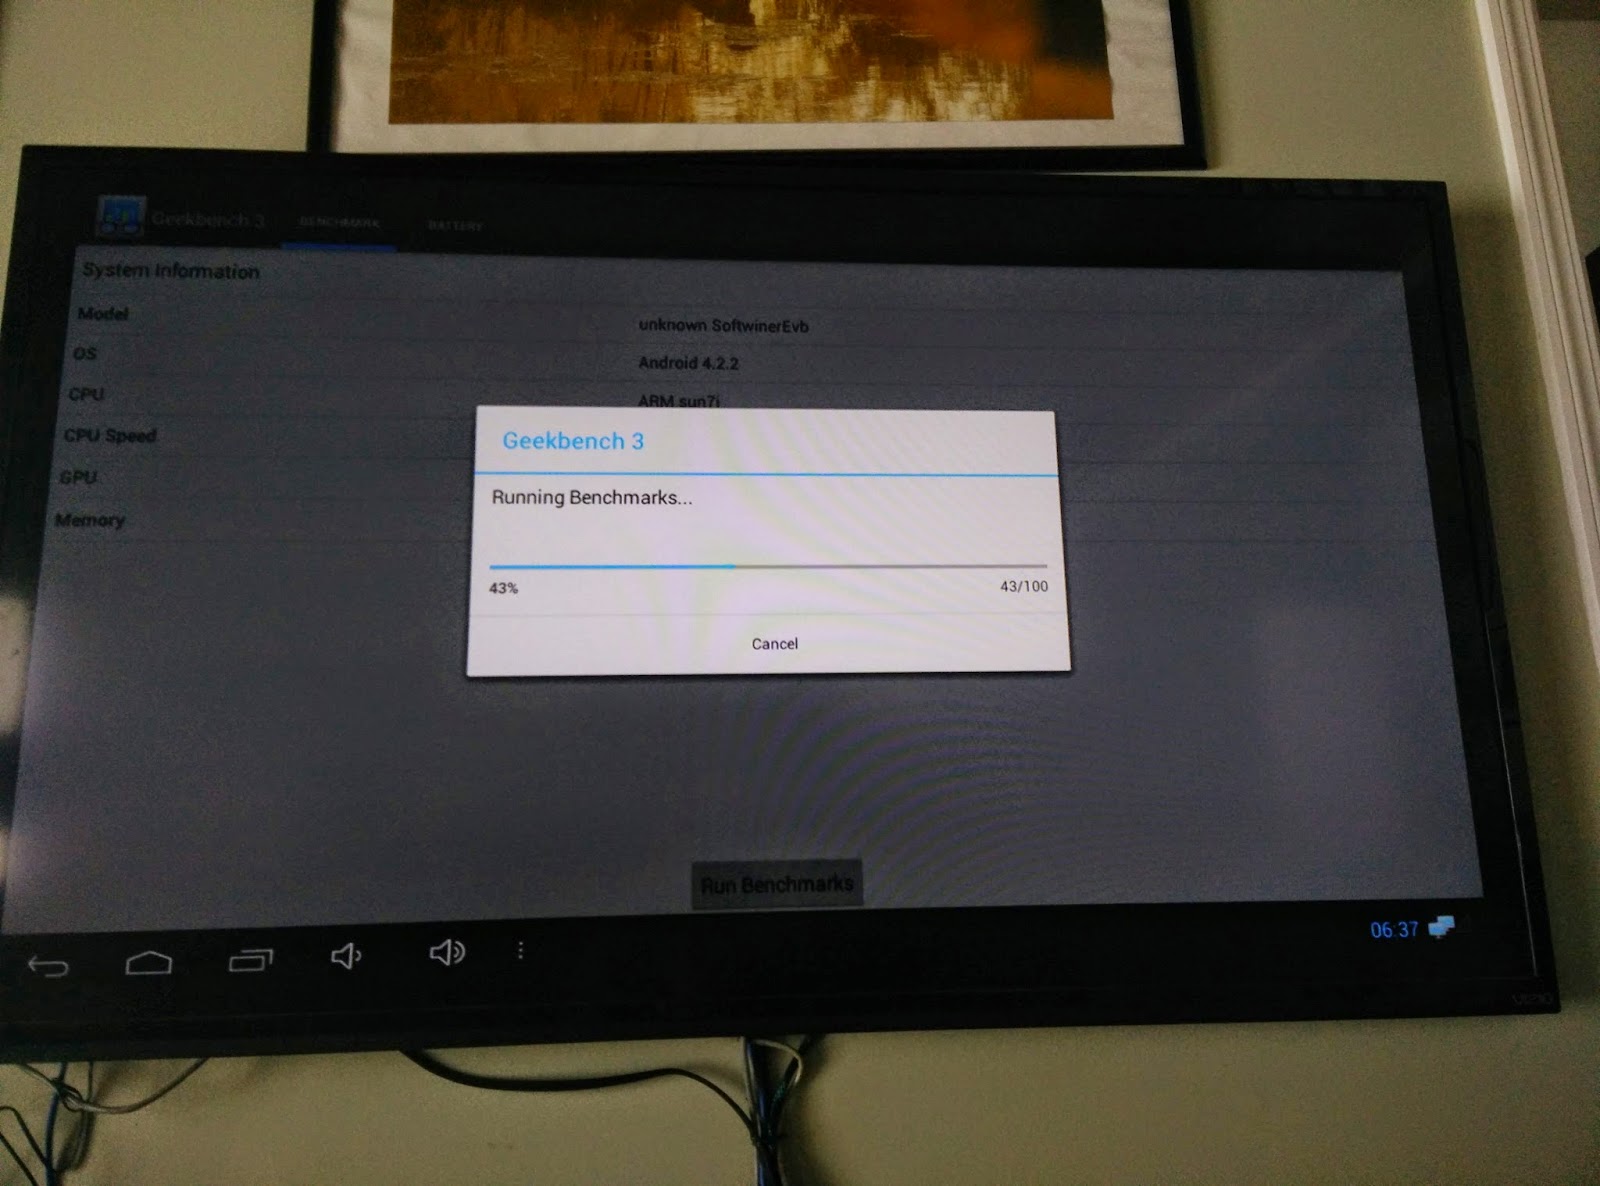
This blog never experimented with another OS other than Debian on the Banana Pi. Well that is about to change with the Banana Jelly Pi! An awesome name for sure, but is it delicious? Might very well be.
Pros
Android = more apps
Great for movies, games, and YouTube
Even better on a small screen
Cons
Does not look all that great
Plenty of bugs and crashes
Old version of Android
Verdict
No matter how shabby the picture might look, give it a try and it might surprise you. It is Android after all and some functions from apps might be surprising. It is much more intuitive than a command line interface and I think the best part is getting Android apps that allows you to watch movies:)